Family and domestic violence leave is a standalone leave entitlement.
With this entitlement:
- confidentiality and security is extremely important
- the leave balance must not show in Employee Self Service or on the employee’s payslip
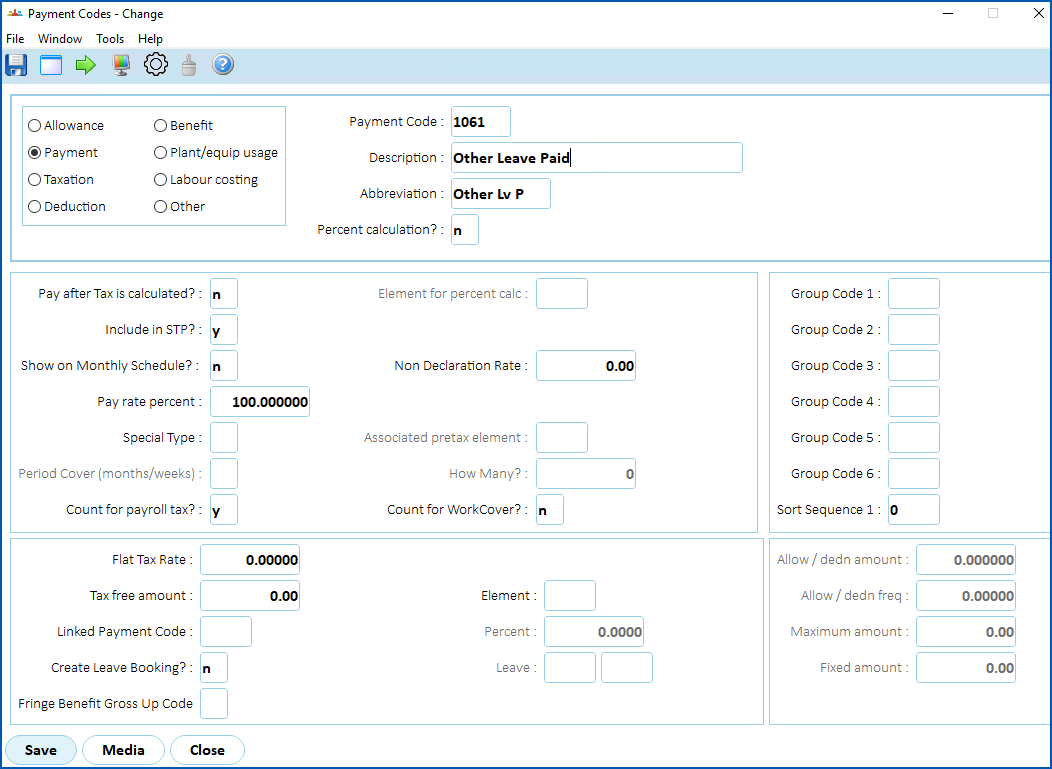
- the payment code description must not directly show details of the leave type, instead use something general - for example Other, or Ordinary, etc
Here we outline four options for managing this entitlement in EmpowerHR.
Option 1
Manage requests using option 1
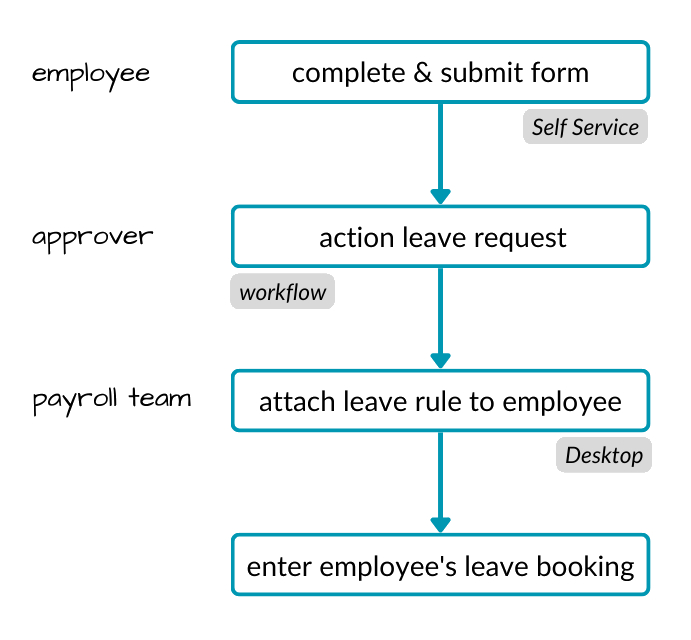
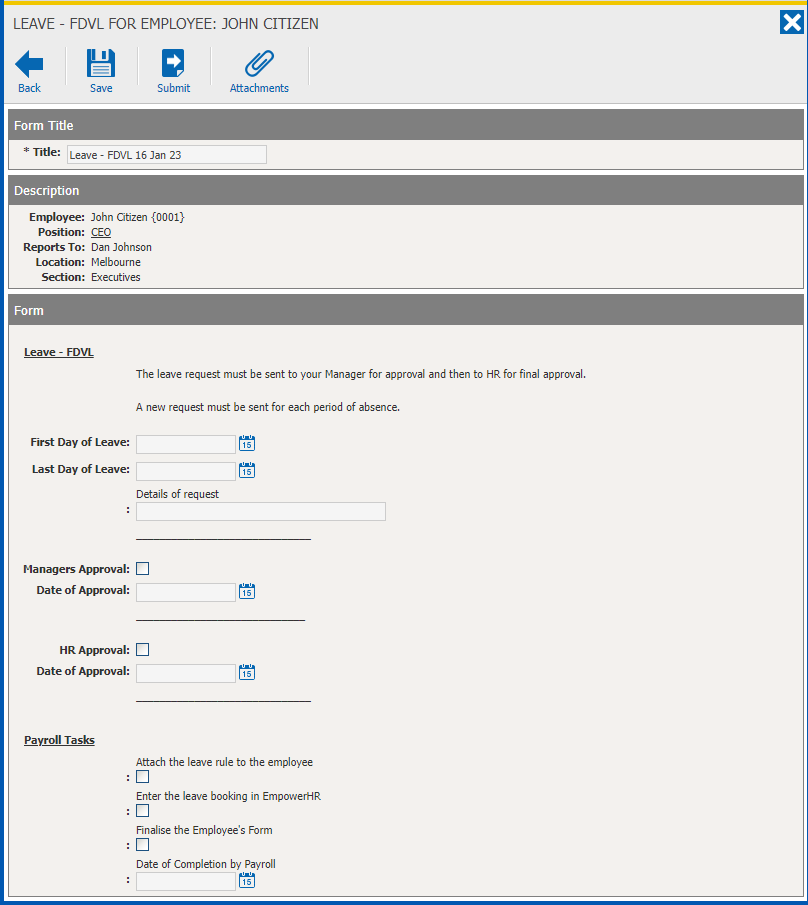
With this option, the employee completes a form in Self Service for each occurrence. Once they submit the form, workflow applies all the approval steps.
At the final step, the payroll team:
- attaches the leave rule to the employee
- enters the employee's leave booking
Set up for option 1
Here's how to set up EmpowerHR so you can use option 1.

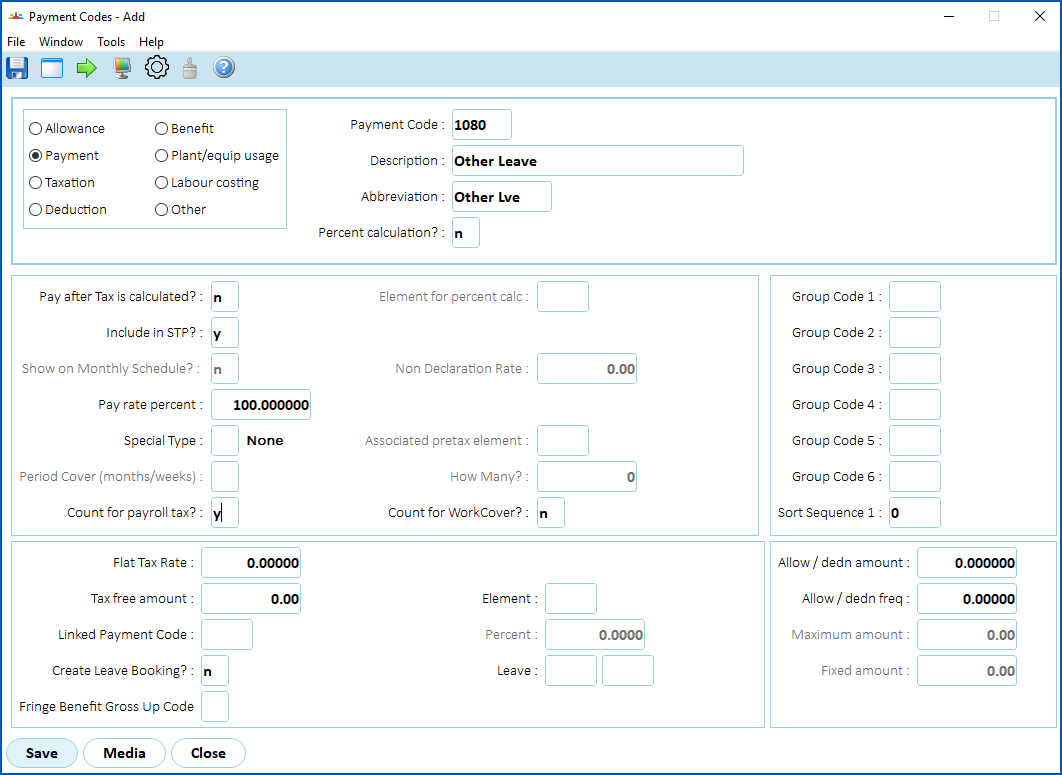
Create a payment code
Go to Tasks > Payroll > Payment Codes and then see payment codes for instructions on how to create a payment code.
Create a leave rule
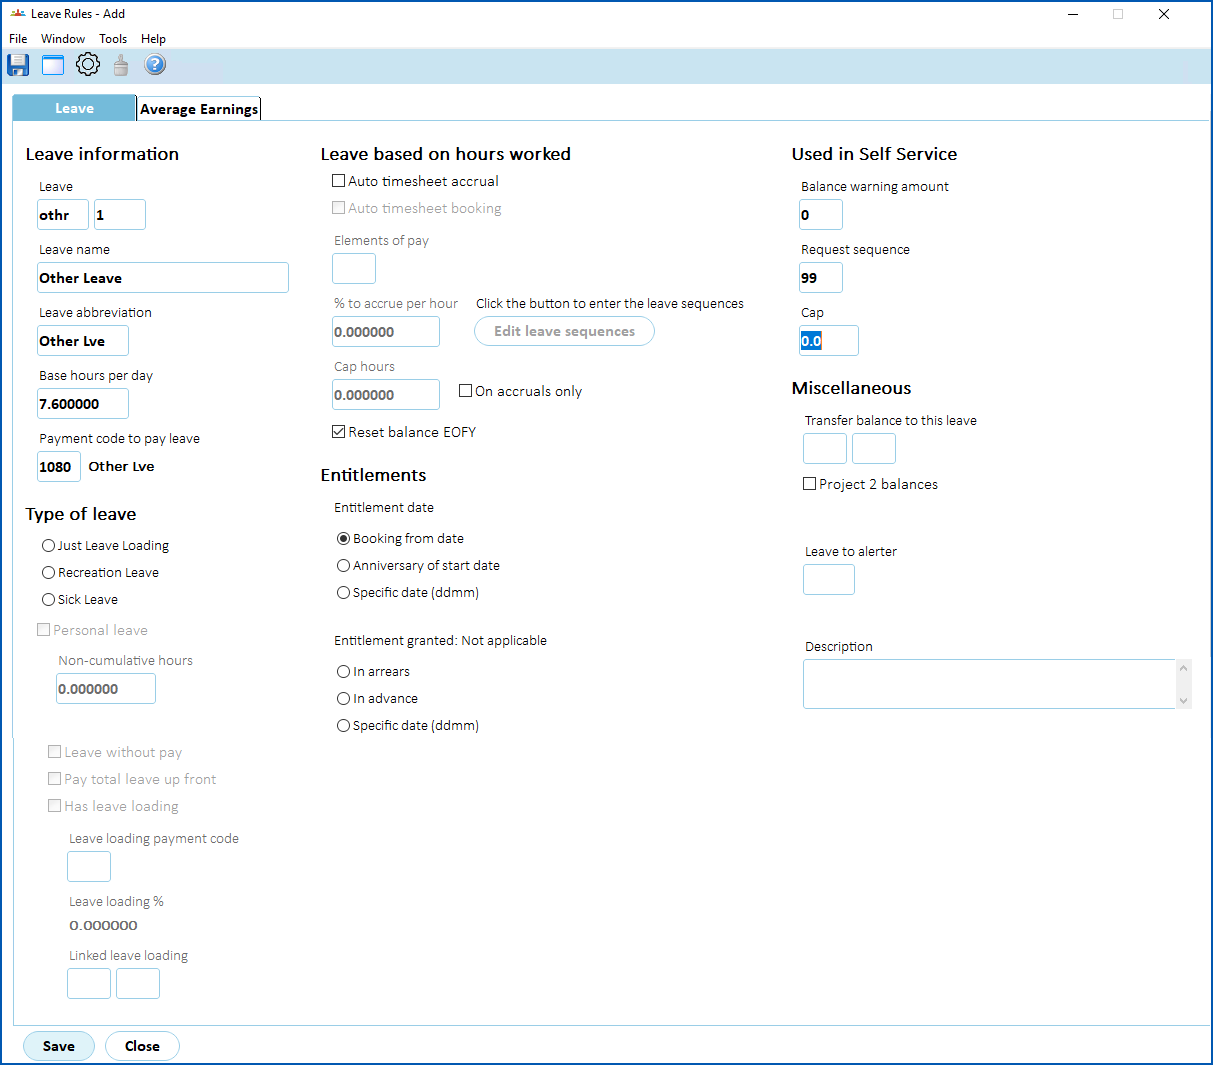
Go to Tasks > Leave > Leave Accruals and Rules > Leave Rules and then see set up leave rules for instructions on how to create a leave rule.
Create a workflow task
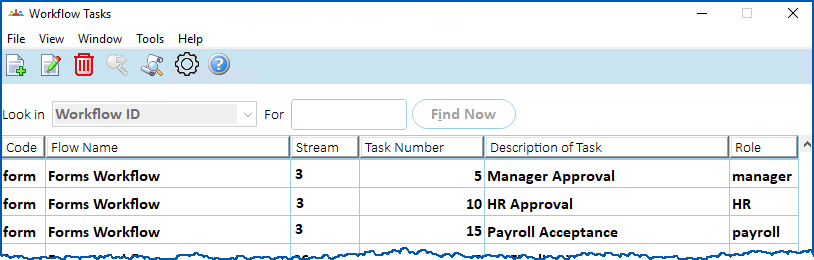
Go to Administration > Workflow > Workflow Tasks and then see design workflow for instructions on how to create a workflow task  .
Workflow tasks are the steps in a leave request workflow. For example, you set who needs to perform each step in the approval process.
Add form to workflow elements
Go to Administration > Workflow > Workflow Elements and then see design workflow for instructions on how to add the form to workflow elements.

Create a form
Go to Administration > Screen Management > Self Service Forms and then see self service forms administration for instructions on how to create a form.
Then, in Self Service, go to Administration > Security > Templates and update the template for employee.

If you need help with developing a form, log an iHelp request.
Option 2
Manage requests using option 2
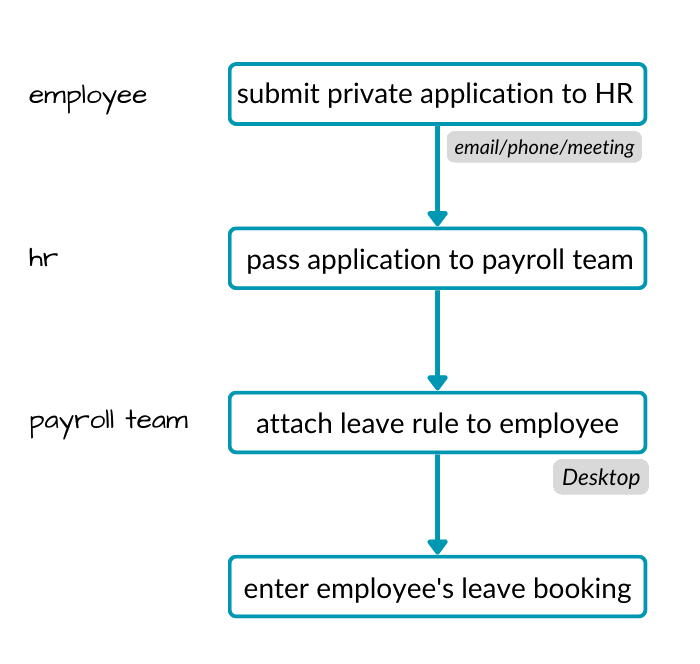
With this option, the employee provides a private application directly to HR (for example, via phone, meeting, email, etc).
Once HR receives the private application, they pass the request to the payroll team.
The payroll team:
- creates a leave rule
- attaches the leave rule to the employee
- enters the employee's leave booking
Set up for option 2
Here's how to set up EmpowerHR so you can use option 2.
Create a payment code
Go to Tasks > Payroll > Payment Codes and then see payment codes for instructions on how to create a payment code.
Create a leave rule
Go to Tasks > Leave > Leave Accruals and Rules > Leave Rules and then see set up leave rules for instructions on how to create a leave rule.
 |
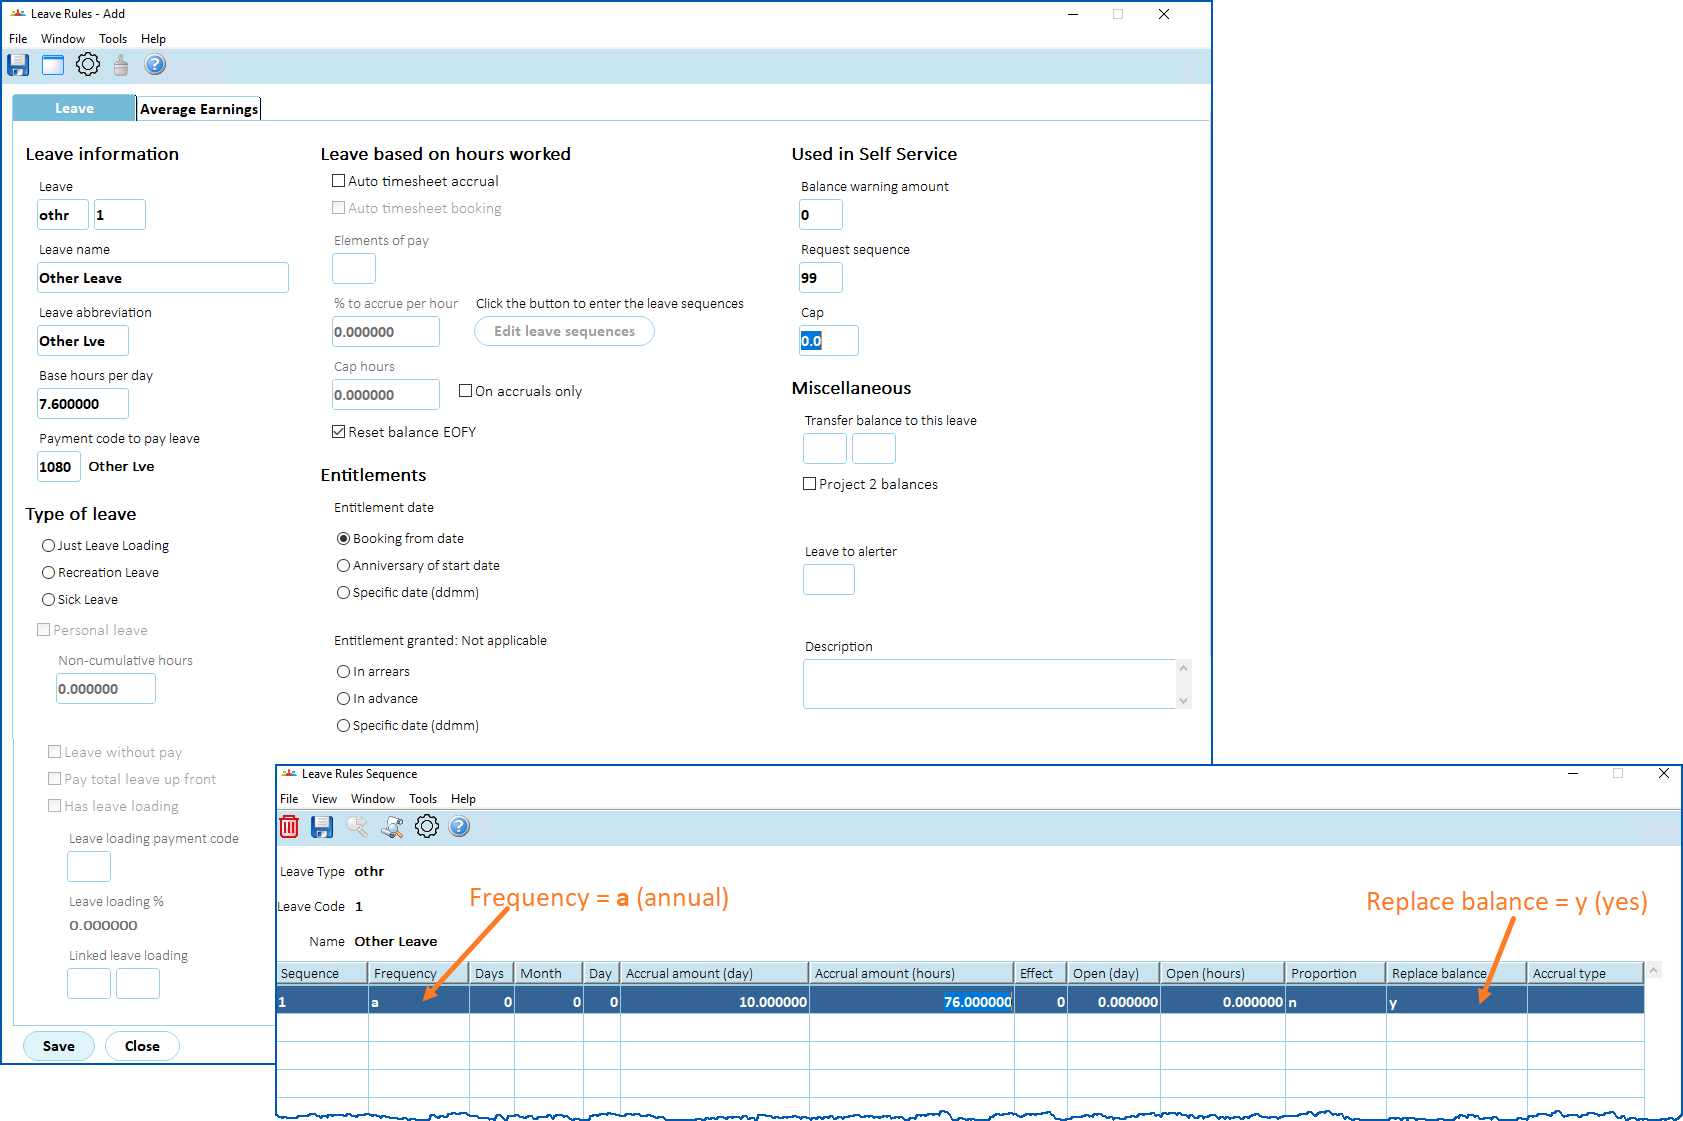
Set up the leave rule for 10 days accrual per year up front, but show the balance in hours. The rule does not accrue from year to year so make sure Replace Balance on the Leave Rule Sequence screen is set to y (yes). |
Option 3
|
|
Option 3 may suit smaller organisations. |
Manage requests using option 3
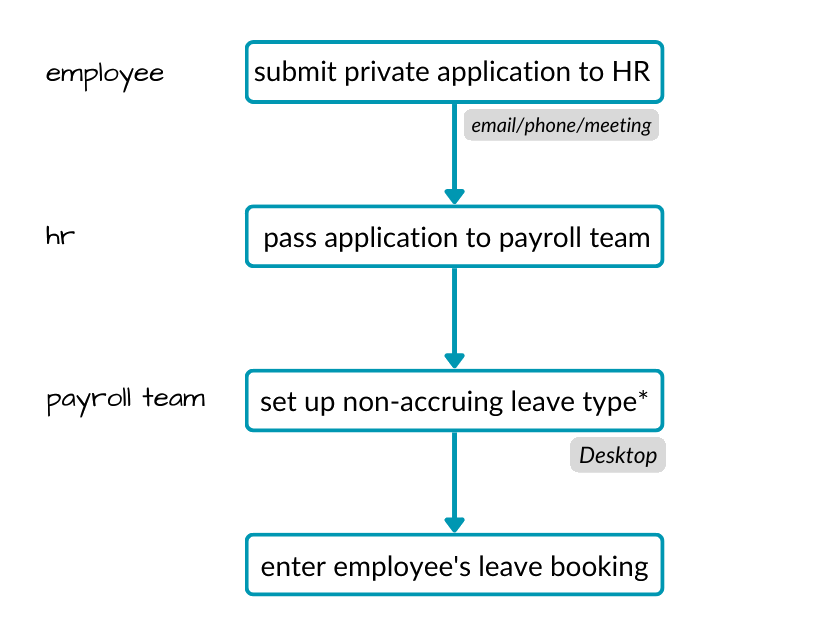
With this option, the employee provides a private application directly to HR (for example, via phone, meeting, email, etc).
Once HR receives the private application, they pass the request to the payroll team.
The payroll team:
- creates a non-accruing leave rule
- enters the employee's leave booking
Set up for option 3
Here's how to set up EmpowerHR so you can use option 3.
Create a payment code
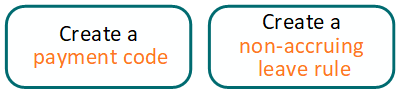
Go to Tasks > Payroll > Payment Codes and then see payment codes for instructions on how to create a payment code.
Create a non-accruing leave rule
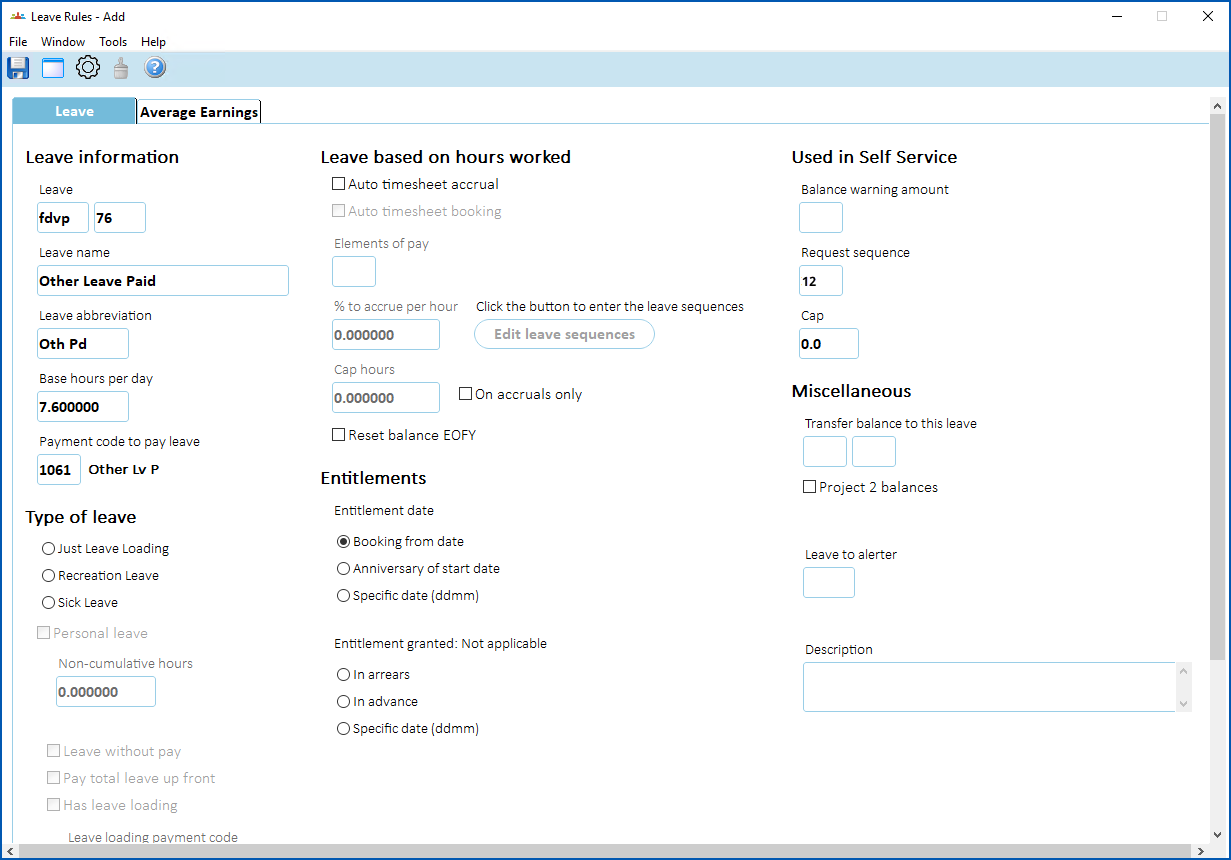
Go to Tasks > Leave > Leave Accruals and Rules > Leave Rules and then see set up leave rules for instructions on how to create a leave rule.
Option 4
Manage requests using option 4
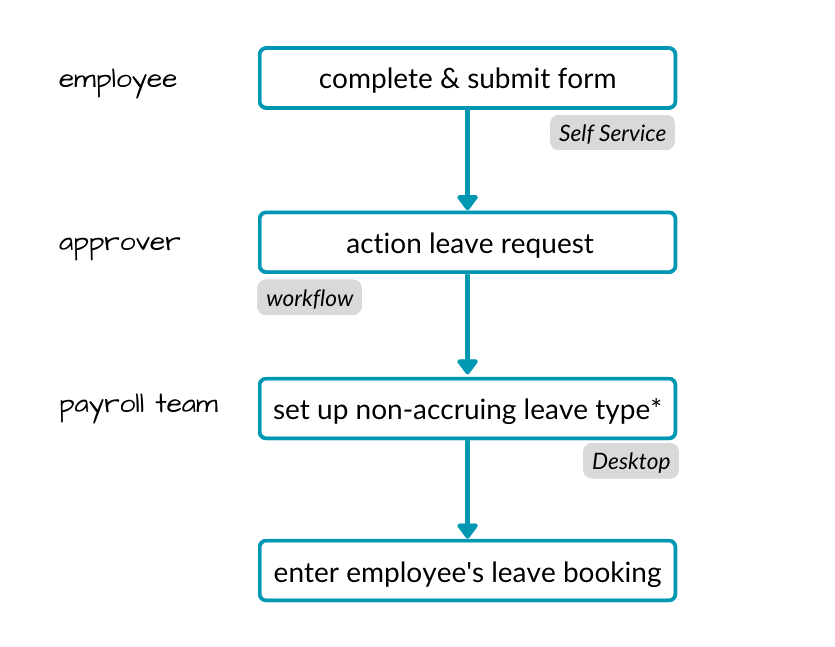
With this option, the employee completes a form in Self Service for each occurrence. Once they submit the form, workflow applies all the approval steps.
At the final step, the payroll team:
- creates a non-accruing leave rule
- enters the employee's leave booking
Set up for option 4
Here's how to set up EmpowerHR so you can use option 4.

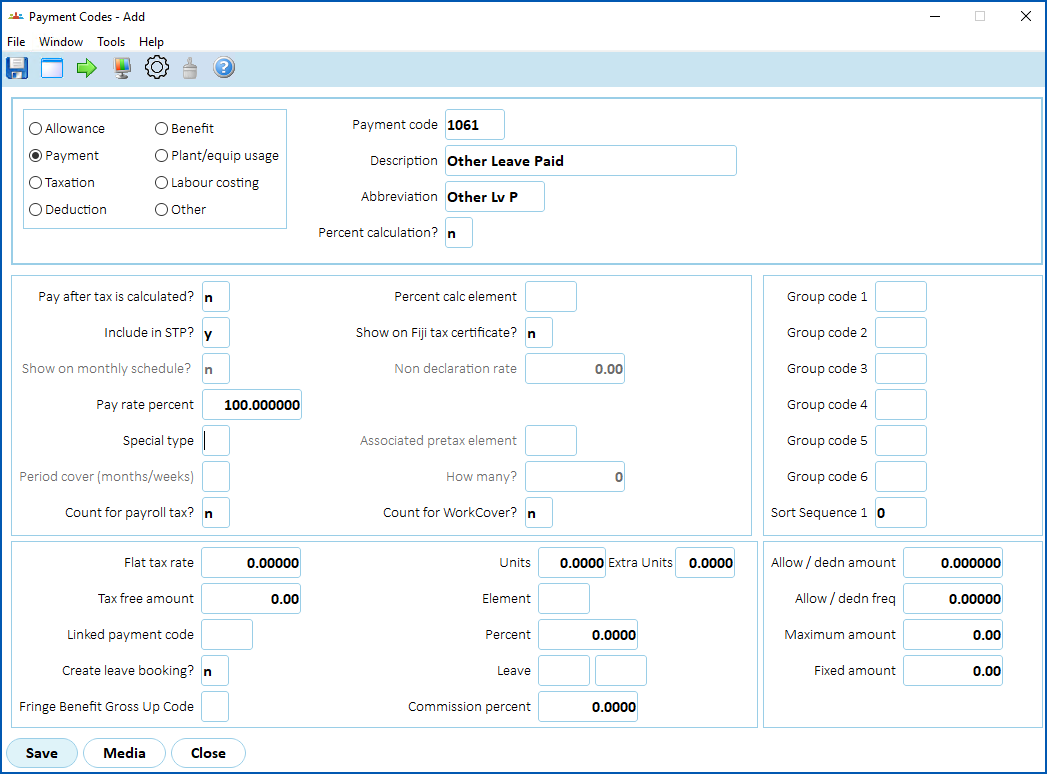
Create a payment code
Go to Tasks > Payroll > Payment Codes and then see payment codes for instructions on how to create a payment code.
Create a non-accruing leave rule
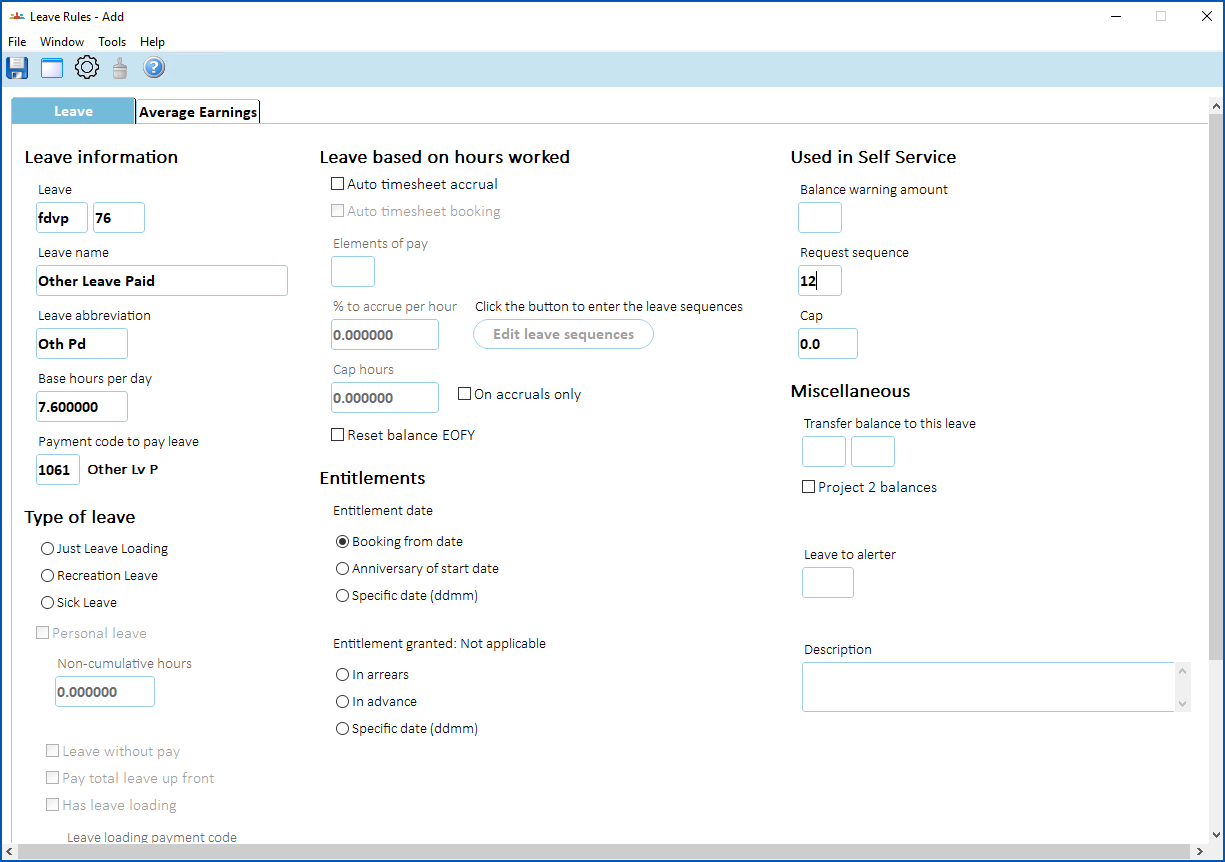
Go to Tasks > Leave > Leave Accruals and Rules > Leave Rules and then see set up leave rules for instructions on how to create a leave rule.
|
When you save the leave rule, EmpowerHR displays the Leave Rules Sequence screen. You don't need to complete this screen when you are create a non-accruing leave type, so just click Close. See Leave rules sequence fields for more information. |
Create a workflow task
Go to Administration > Workflow > Workflow Tasks and then see design workflow for instructions on how to create a workflow task .
Workflow tasks are the steps in a leave request workflow. For example, you set who needs to perform each step in the approval process.
Add form to workflow elements
Go to Administration > Workflow > Workflow Elements and then see design workflow for instructions on how to add the form to workflow elements.
Create a form
Go to Administration > Screen Management > Self Service Forms and then see self service forms administration for instructions on how to create a form.
Then, in Self Service, go to Administration > Security > Templates and update the template for employee.
If you need help with developing a form, log an iHelp request.
© 2023 Fusion5. All rights reserved.