Use the Function Management feature to:
- configure the use of attachments for work health and safety (WH&S), workflow items, forms, and personal details
- create user menus and sub-menus with external links and parameters
Configure use of attachments
Use the following procedure to identify where and how to use attachments relating to WH&S screens.
 | Use of attachments is ultimately controlled by the installation option called (attc) upload attachments in self service, which switches on/off all attachments capability for your site. |
To switch on the use of attachments for WH&S screens:
- Go to Administration > Screen Management > Function Management.
- At Function Management, expand Self Service, expand Health and Safety, and then expand Health and Safety Incident.
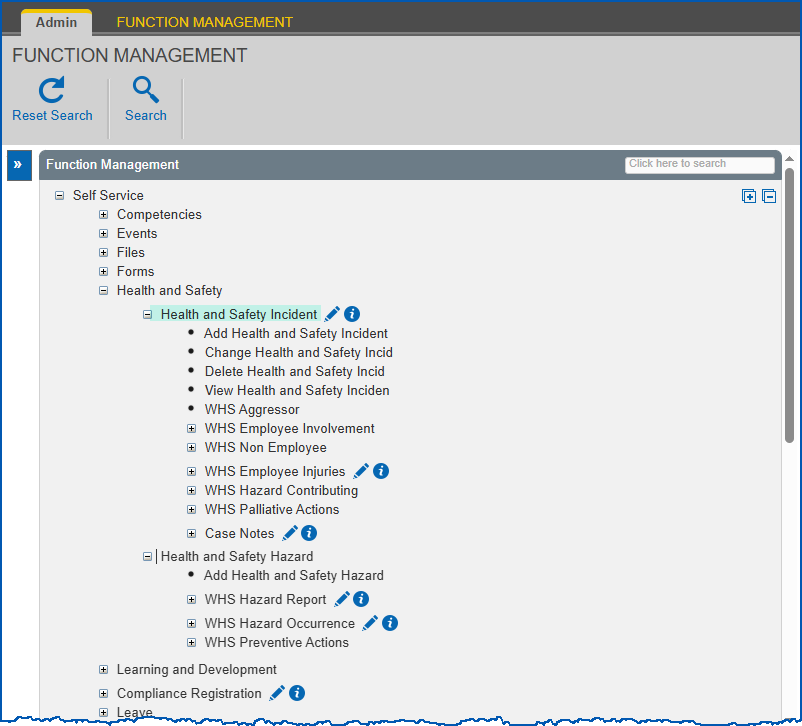
- For each screen you want to change, click Change beside the screen name.
- At the Function Management - ... screen, select a setting from the Attachments dropdown list. Here's an example:
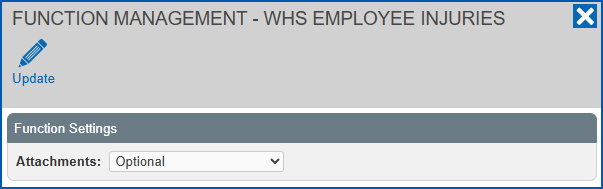
- Click Update.
- At Function Management, expand Self Service, expand Health and Safety, and then expand Health and Safety Hazard.
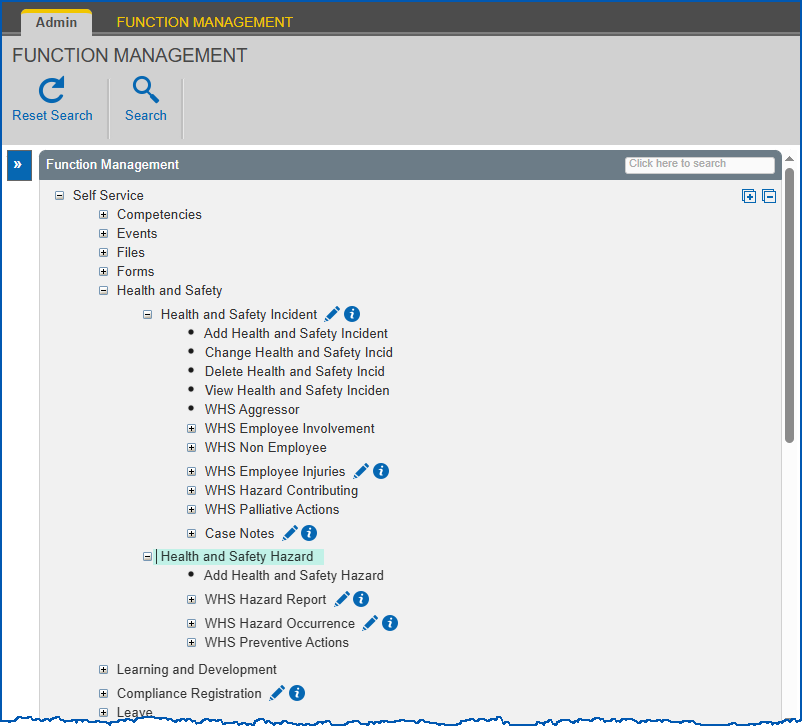
- Repeat this procedure, starting at step 3, to set attachments for each relevant health and safety hazard screen.
Create user menus
Here's how to create user menus in self service.
Create a level 1 menu
To create a level 1 menu:
- Go to Administration > Screen Management > Function Management.
- At Function Management, expand Self Service.
- Scroll down to the bottom of the list of screens, and then click Click here to Create Menu.
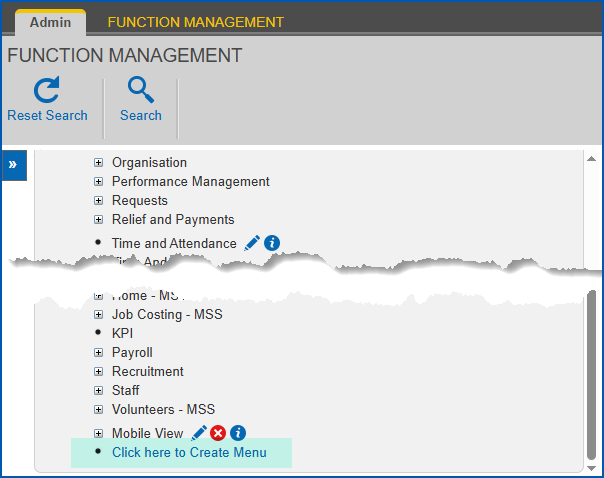
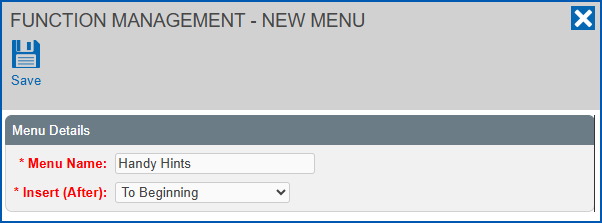
- EmpowerHR displays the Function Management - New Menu screen.
- At:
- Menu Name, enter a name for the menu
- Insert (After), select an option from the dropdown list. This is where the new menu item will appear. We select To Beginning for level 1 menu items.
In the following example, we define a level 1 menu item called Handy Hints. 
- Click Save. Now, create a sub-menu for the new menu item.
Create a level 2 menu (sub-menu)
To create a level 2 menu (sub-menu):
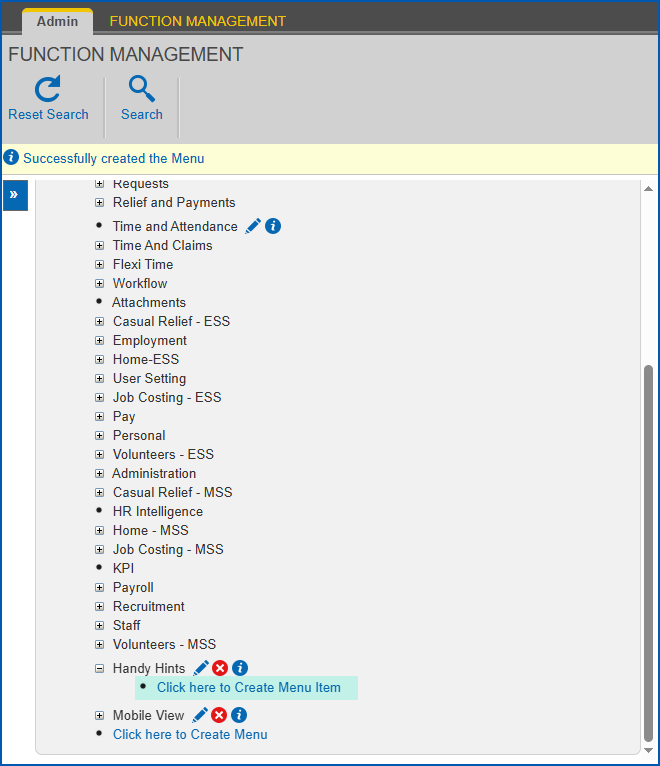
- At Function Management, expand the level 1 menu you created. In our example, we expand Handy Hints.
- Click Click here to Create Menu Item.
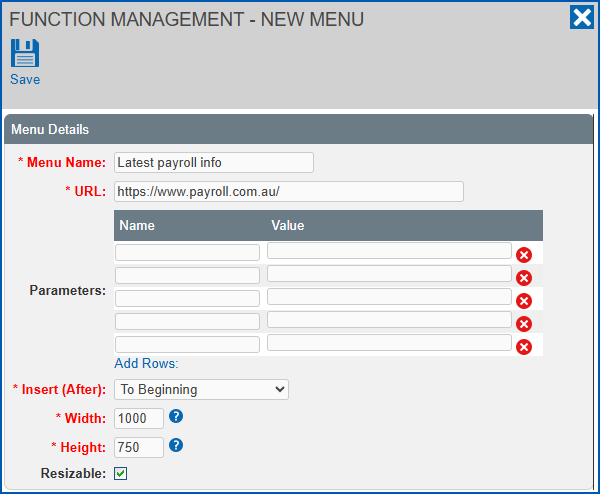
- EmpowerHR displays the Function Management - New Menu screen.
- Complete the fields using the following table as a guide.
| At this field... | Do this... |
|---|---|
Menu Name | Enter a name for the sub-menu. |
URL | Enter a web address. |
Parameters | Enter additional parameters, if required. The supported symbolics are:
|
Insert (After) | Select a different option from the default, if required. |
Width | Change the default width value, if required. |
Height | Change the default height value, if required. |
Grant access to the new user defined menu
- See create and update self service templates for instructions on how to grant access to the user defined menu.
|
|
To locate the menu item you created, in the Security Access for... screen for each relevant template, expand Self Service, and then scroll down to the end of the list. |
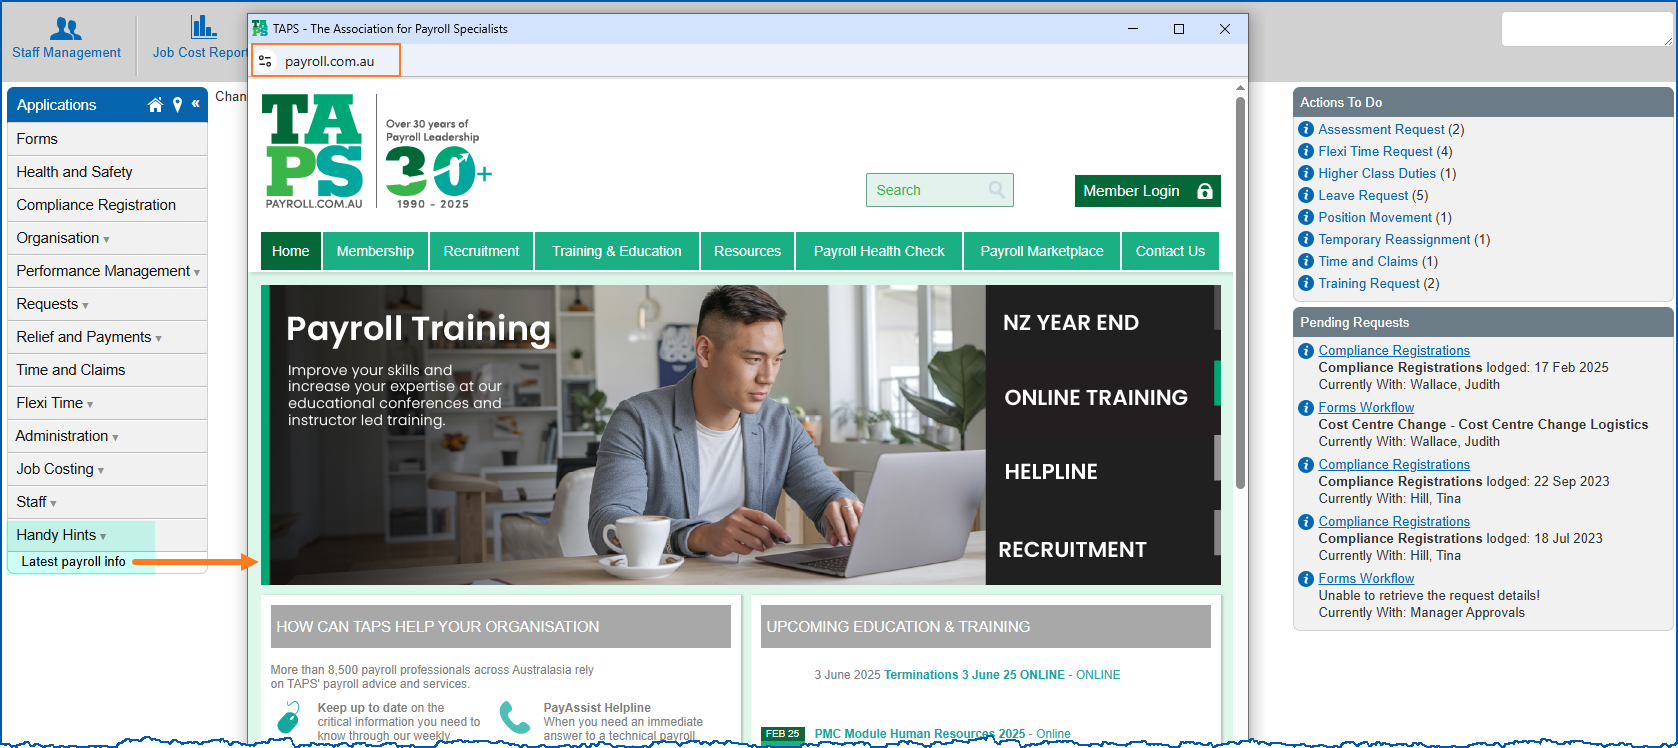
- Now you've granted access, the menu item is available in self service. When a user clicks the item, the URL opens in a new window. In our example, clicking the Handy Hints sub-menu called Latest payroll info displays the TAPS website in a separate window.
© 2023 Fusion5. All rights reserved.