---
title: "Set up approval workflow"
id: "set-up-approval-workflow"
project: "EHR User Guide"
url: "https://help.cloud5.com.au/articles/ehr-user-guide/set-up-approval-workflow"
updated: 2026-10-19T00:53:17Z
---
# Set up approval workflow
## Flexi time workflows
Workflows automate the flexi timesheet and flexi leave request process and procedures.
To learn how to set them up for your organisation, see [design workflow](/articles/ehr-user-guide/design-workflow).
## Define workflow elements
Once workflows are set up, to make requests in ESS , you need to set up a workflow element for what is to be requested.
ESS = Employee Self Service
To define a workflow element:
1. Go to Administration > Workflow > Workflow Elements.
2. At the Workflow Elements summary screen, click **Find Now**to see a list of existing elements.
3. Click **New**.
4. At the Workflow Elements detail screen, in the **Workflow ID** field, click **Window**, find and double-click a workflow ID to add it to the field.
5. Press **Tab**. The **Flexi Code** field displays.
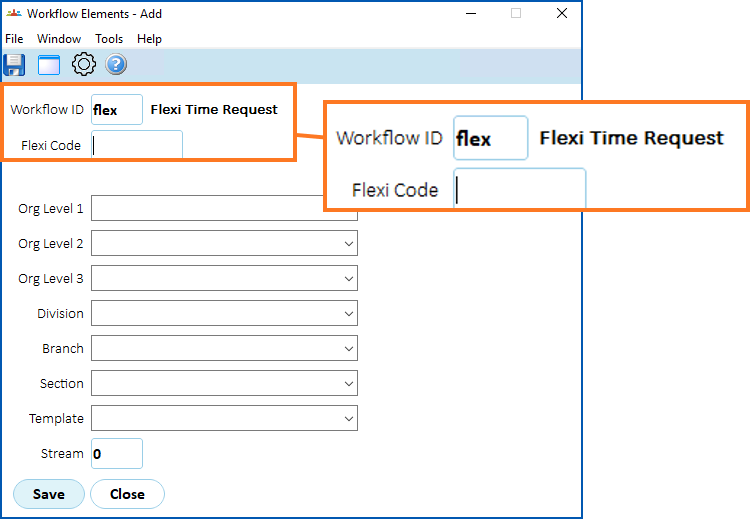
1. At the **Flexi Code** field, click (lookup window), find and double-click a flexi code to add it to the field.
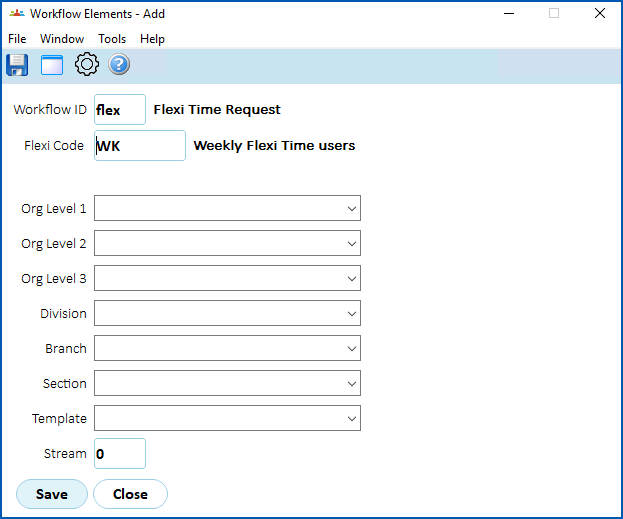
1. Decide if you need to make selections in the **Org Level** / **Template** fields.
|  | Workflows can be restricted to organisational levels of the company (**Org Level 1** etc), or by selecting a user **Template**. Alternatively, you can leave these fields blank |
| --- | --- |
1. If the workflow has multiple streams, enter the stream number in the **Stream** field (for example **1**), or else leave the default of **0**.
2. Click **Save**.
3. Repeat this procedure, starting at step 3, until you've added all the workflow elements you need.
| Next topic
[Assign positions to flexi time codes](/articles/ehr-user-guide/assign-positions-to-flexi-time-codes) |
| --- |
© 2023 Fusion5. All rights reserved.