---
title: "Business processes"
id: "business-processes"
project: "EHR User Guide"
url: "https://help.cloud5.com.au/articles/ehr-user-guide/business-processes"
updated: 2026-10-19T00:54:27Z
---
# Business processes
EmpowerHR lets you link together up to 15 screens in a single business process. You can create an unlimited number of business processes.
When you create a business process, it is located on the **Processes** menu.
A user can use a business process provided the:
* [account template](/articles/ehr-user-guide/create-and-update-account-templates) (assigned to their operator code) allows access to the process menu item and access to all the screens used in the process
* the user has been assigned the relevant [organisational access](/articles/ehr-user-guide/assign-organisational-access-to-users) (access to organisational groups of employees)
## Create a business process 
To create a business process:
1. Go to **Administration**> **Screen Management** > **Business Process**.
2. At the **Business Process**summary screen, click **Find Now** to display a list of existing processes (by menu name).
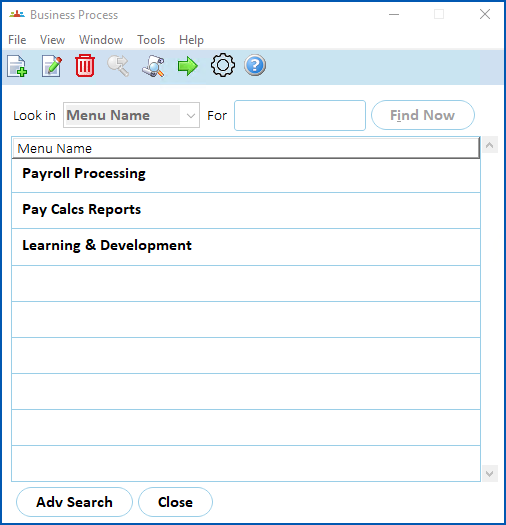
1. Click **New**.
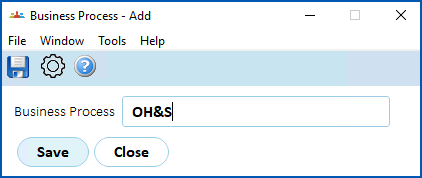
2. At the **Business Process - Add** window, enter a name for the process, and then click **Save**.
1. The new process name appears in the **Business Proces** **s** summary screen.
2. Select the process, and then click **Next Level**.
3. The **Business Process Details** screen displays. Click **Find Now**. No screens are listed as this is a new process.
4. Click **New**.
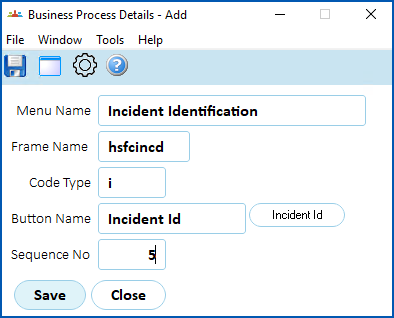
5. At the **Business Process Details - Add** screen, in the:
1. **Menu Name** field, click **Window**, find and double-click the screen to add it to the field. The **Frame Name** field is automatically populated based on your selection.
2. **Button Name** field, type a name for the button (up to 15 characters), and then press **Tab**. EmpowerHR displays an example of the button beside the **Button Name** field.
3. **Sequence No** field, enter the order for the screen to appear in the process. It's recommended you use multiples of 5 so, in future updates, you won't need to remove and re-add screens. You'll simply slot any new ones in between.
1. Click **Save**. The **Business Process Details** screen displays, listing the screen you added.
2. Repeat this procedure, starting from step 8, until you've added all the screens required for the process.
##
## Update a business process
To update a business process:
1. Go to **Administration**> **Screen Management** > **Business Process**.
2. At the **Business Process**summary screen, click **Find Now** to display a list of existing processes.
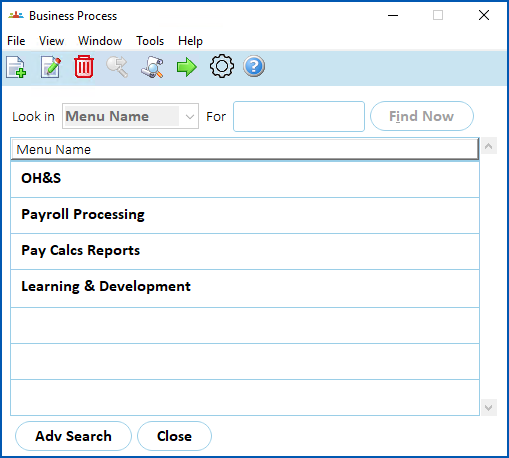
1. Select the business process you want to update, and then click **Next Level**.
2. The **Business Process Details** screen displays. Click **Find Now** to list the existing screens.
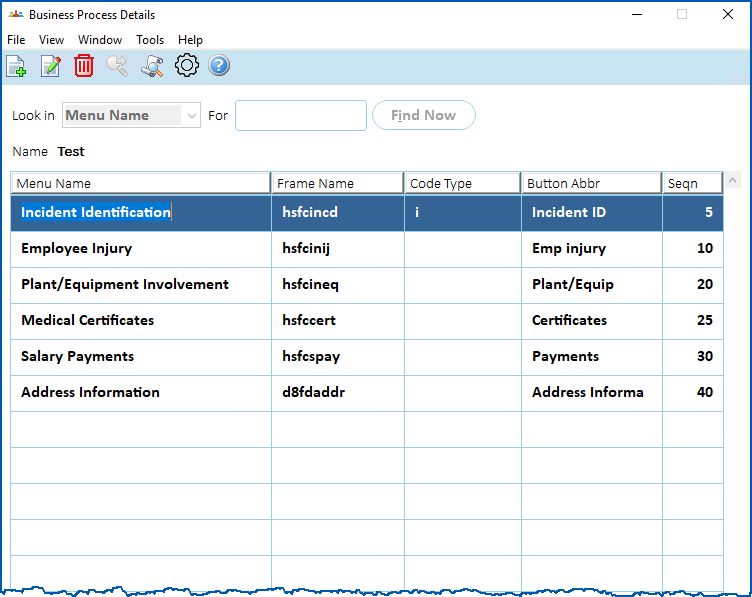
1. To:
1. add a new screen, click **New**, and then see [create a business process](/articles/ehr-user-guide/business-processes/a/Createbusproc) for how to proceed (starting at step 8 in the instructions).
2. update an existing screen details, select the screen, click **Open**.
2. At the **Business Process Details - Change** screen, you can change either or both the:
1. **Button Name** field. Enter a new name for the button (up to 15 characters), and then press **Tab**. EmpowerHR displays an example of the button beside the **Button Name**field.
2. **Sequence No**field, enter the new order for the screen to appear in the process.
3. Click **Save**.
| Next topic
[Screen painting](/articles/ehr-user-guide/screen-painting) |
| --- |
© 2023 Fusion5. All rights reserved.